Japanese Cooking 101, Lesson 1: How to make dashi stock, the foundation of Japanese cooking
Welcome to the first lesson of Japanese Cooking 101! Throughout this course I hope to teach you about the foundations of traditional Japanese cooking or washoku (和食), as well as how to cook some Japanese dishes. So let's get started!
Lesson 1: Dashi
Dashi or stock (often called dashi stock, which is kind of redundant) is the foundation of all savory washoku. It's not just used in soups; it's used in everything, from sauces, dressings, as a liquid when stewing vegetables, and more. Without dashi, your Japanese dishes simply aren't right. If anything, dashi is more critical to Japanese cooking than meat, vegetable and fish stocks are to French cooking.
So what is dashi? Basically it is a liquid that is packed with umami, or glutamates. Umami is an essential part of any savory cuisine, but particularly so in Japanese cooking. It's not at all surprising that it was a Japanese scientist who invented the purest chemical form of umami, monosodium glutamate (MSG).
While using MSG or a instant dashi powder or granules is very handy, and although the quality of dashi powders have have improved in recent years, dashi made from time-tested, natural ingredients is more rounded and better tasting. The difference between dashi made from instant powder and one made from scratch is like the difference between a bouillon you make with a stock cube and one you make by simmering bones and vegetables for hours.
Luckily for us, the Japanese of yore came up with ways to make whipping up a batch of dashi very easy. Various dried ingredients, mostly from the sea, which can be kept without refrigeration, are used to make dashi quite easily - so much easier than making a meat stock. (I mean, dealing with those icky greasy bones after making chicken or beef stock is not nice.)
Main dashi ingredients
Dashi is made from one or two of these ingredients:
昆布 (kanji); こんぶ (hiragana): Kombu (or konbu) -seaweed
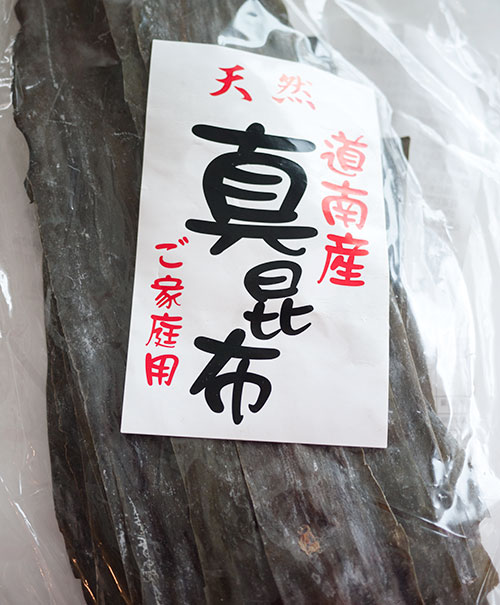
kombu seaweed is a slightly leathery seaweed. It may come in wide sheets, or long ropey strands. kombu is the most widely used dashi ingredient, and has the most neutral flavor of them all. If you are a vegan, a pure kombu dashi is an all-purpose, neutral tasting dashi.
Good kombu is covered on the surface with a fine white powdery substance. Do not wash this off - it's not caked on salt or dust! It's full of that umami we want to extract.

(Note: Many Japanese cookbooks instruct you to wipe the dirt off the surface of kombu with a tightly wrung out kitchen towel. The truth is, this really isn't necessary in most cases these days, since the kombu we get has already been cleaned very well. If you happen to get a batch with some gritty stuff on the surface you'll need to wipe it off, but make sure you're not getting rid of that powdery white stuff in the meantime. If a tiny bit of grit does make it into your dashi you can always strain it off later.)
鰹節 or かつお節 or かつおぶし: Katsuobushi, or bonito flakes
Also called kezuribushi or okaka.
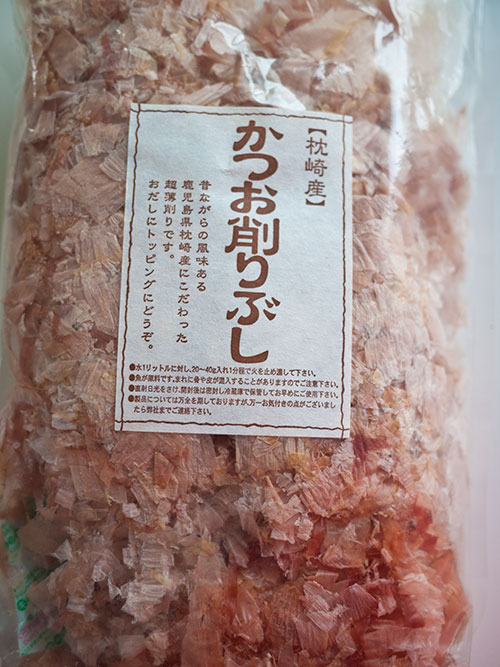
Katsuobushi is a bonito fish (katsuo) that has been dried and fermenented to develop a lot of umami. The fish shrinks down and hardens until it's like a block of wood. This is then grated or shaved into thin flakes, rather like wood shavings. The shavings are used in cooking. Good, fresh pre-shaved katsuobushi is fluffy and yellowish-beige in color with a hint of blush pink. Katsuobushi is the second most common dashi ingredient after kombu. Most of the dashi used around the country in restaurants uses a combination of kombu and katsuobushi.
Katsuobushi is usually available in flaked form, although you can get a whole katsuobushi and a special box grater and grate your own. While freshly shaved or grated katsuobushi is very flavorful, it's a pain in the ass to grate manually, so most people, including professional cooks, use the pre-shaved stuff. (I've seen some electric katsuobushi-shavers sold in Japan, but they're pretty expensive.)
Other dashi ingredients used
We won't be using these ingredients for this lesson, but these items are used in dashi too.
- Small dried fish such as nishin or iwashi (にしん, いわし: herrings and sardines) are often used instead of katsuobushi. Some regions of the country prefer them over katsuobushi, and some people just use them because they are cheaper. The dashi made with these don't taste overly fishy, but are a bit more fishy than katsuobushi.
- Dried shiitake mushrooms (干し椎茸) are used for dashi on occasion. The soaking liquid from reconstituting dried mushrooms makes a very strong tasting dashi, which can be used on its own or with kombu dashi.
Ichiban dashi (first dashi) and niban dashi (second dashi)
Simply put, ichiban dashi or first dashi is the dashi you make from fresh (as in previously unused) ingredients kombu and katsuobushi. Niban dashi or second dashi is dashi made from the kombu, katsuobushi and so on that has previously been used for making ichiban dashi. Ichiban dashi is used for things like soups, or when you want the maximum amount of umami possible. Niban dashi is used for things like stewed dishes, when other ingredients like meat and vegetables will add more umami to the dish so a subtler dashi is adequate. Niban dashi is really a way of being frugal with your dashi ingredients.
Let's make some dashi!
In this lesson we will be making a standard ichiban (first) kombu and katsuobushi dashi, but I'll also show you how kombu-only dashi is made.
Long time readers of the site may know that I've given you a couple of different ways of making dashi in the past. They all work well, but here I'll walk you through the method that I think makes the best tasting dashi.
We will making 1 litre, or about 4 U.S. cups of dashi. For this you will need:
- 10 to 15 grams (1/3 to 1/2 ounce) of kombu
- 10 to 15 grams (1/3 to 1/2 ounce) of katsuobushi
- 1 litre or 1000 ml / 4 U.S. cups of water plus a bit of extra water (about 100ml or 1/3 cup) to allow for evaporation during cooking
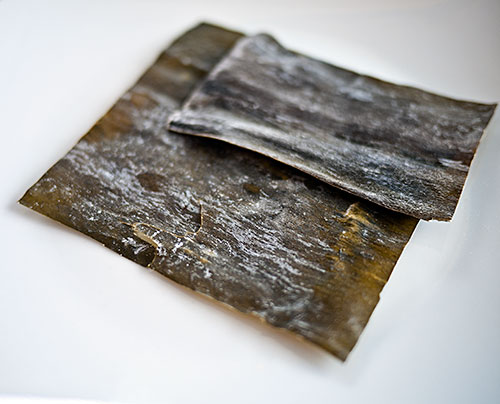
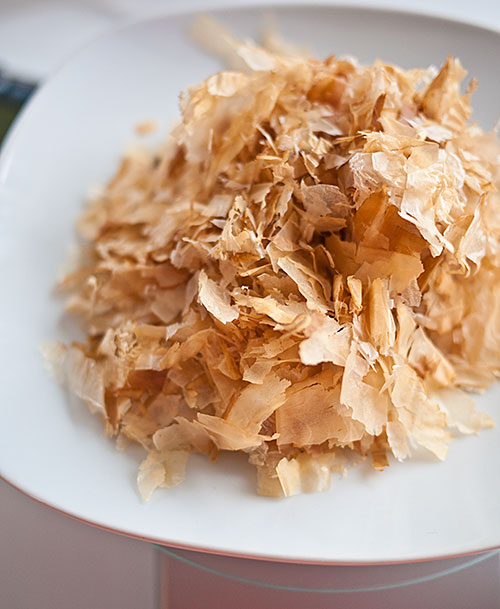
The ratio of water to ingredients: Allow for a minimum of 10 grams of kombu, and 10 to 15 grams of katsuobushi, per 1000 ml(1l) or 4 U.S. sized cups of water. If you're making a kombu-only dashi, you'll want to use at least 15 grams. If you don't have a fairly precise scale, 10 grams of kombu is about a 4 inch square piece - which is the advice I've given you previously, and 19-15 grams of katsuobushi is a good handful. Here I used 15 grams of each. If you don't get the amounts precise don't worry; since these are all-natural ingredients, you can't really use too much of it.
Here's 15 grams of kombu. - about 1 1/2 4-inch / 10 cm squares.
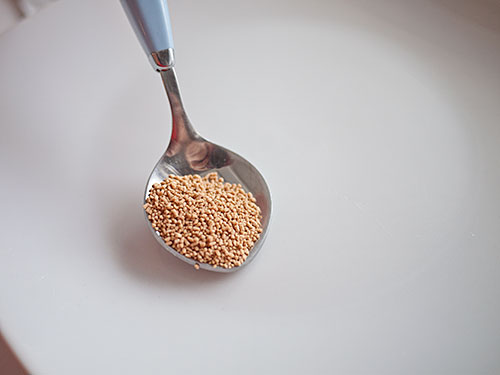
And here's 15 grams of katuobushi - a generous handful:
Set aside the katsuobushi. Put the kombu and water in a pan and leave it to soak for at least 30 minutes. You can leave it in the water for up to a day in the refrigerator, if you want to do the soaking step in advance.
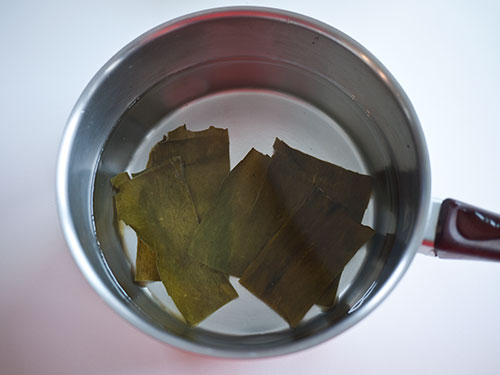
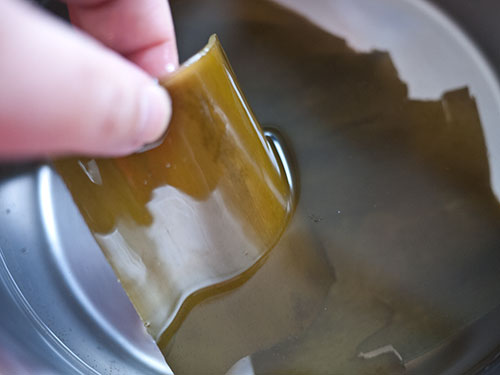
If you want to track how the dashi progresses, take a small sip of the liquid after the kombu has been soaking in it for a while. You should taste just a hint of the sea already. The surface of the kombu will have turned a bit slippery.
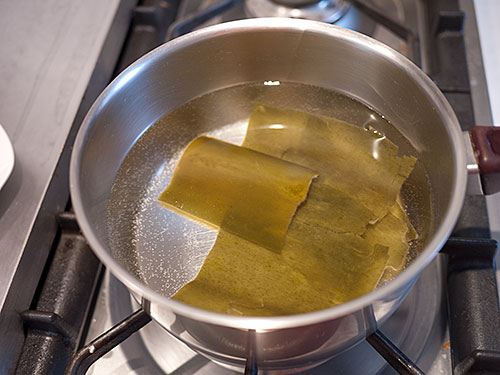
Put the pan on the hob and turn up the heat. Bring it to a boil, then lower the heat.
If you are making a kombu-only dashi, keep the pan on a barely-there low simmer for 30 minutes. Check the water level and add a bit more if it seems to be evaporating too fast.
IF you are making a kombu-katsuobushi combination dashi, simmer the kombu for 10 minutes, then turn off the heat.
Again, if you want to track the progress of the dashi, taste it at the 5, 10 and (if you're going for kombu-only dashi) the 30 minute stages. You'll notice that the dashi is getting gradually stronger in flavor, tasting like the sea. You should notice the umami even at the 5 minute mark. Kombu-only dashi barely has any color.
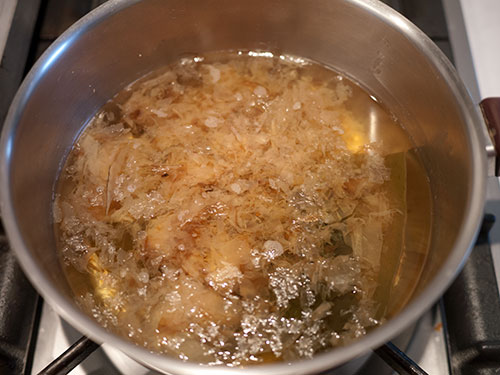
To make a kombu-katsuobushi combo dashi: After 10 minutes of simmering, add the katsuobushi, and turn the heat off.
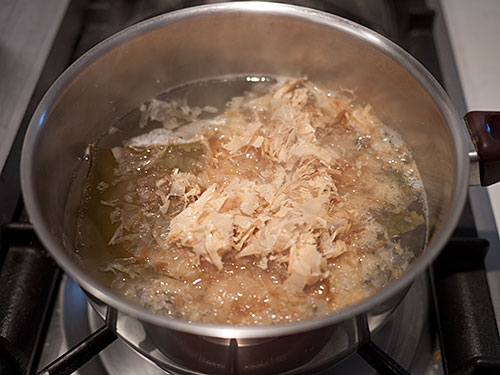
Let the pan sit for a few minutes (about 10 minutes) until the katsuobushi sinks to the bottom of the pan.
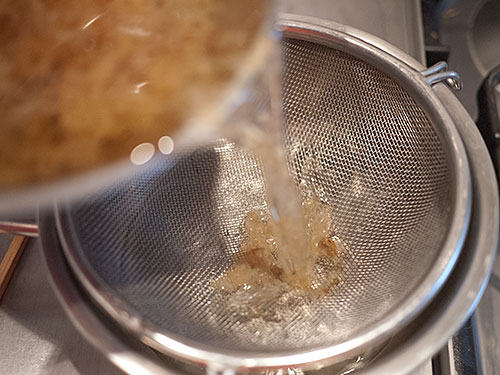
Strain off the liquid, using a fine-mesh sieve.
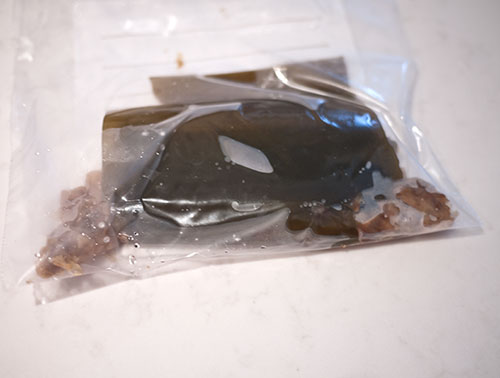
Don't throw away the used kombu and katsuobushi! We'll be using that in a later lesson, so put it in a plastic bag and store it in the freezer.
The dashi will have a pale golden color. Give it a taste - you'll notice the katuobushi, but it won't be unpleasantly 'fishy'; it will be like a very light bouillon without the salt.
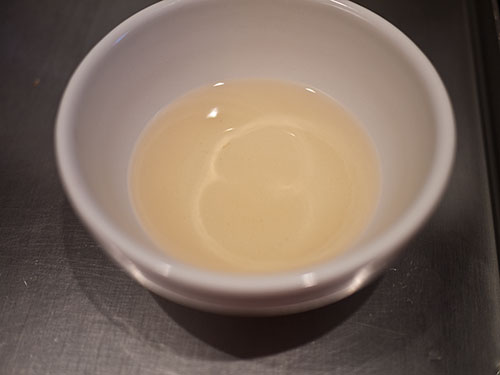
At this point the dashi can be used right away, or stored well covered for a few day in the refrigerator. You can also freeze it - putting it in ice cube trays is a handy way of doing this.
_This pale golden liquid is the foundation for your savory Japanese dishes. Master the art of dashi making and you're well on your way to becoming a Japanese Iron Chef!
Tomorrow I'll show you how to turn this dashi into two kinds of soup: clear soup called osumashi or osuimono, and misoshiru or miso soup.
Addendum: Using instant dashi stock granules
While dashi made from natural ingredients tastes the best, it may be difficult of not impossible to get the raw ingredients like kombu seaweed and katsuobushi in some parts of the world. In that case using instant dashi stock granules is fine, and certainly better than using straight MSG or nothing at all. And to be brutal, most Japanese restaurants around the world do not make dashi from scratch; they use the granules, (Once you know the taste of 'real' dashi, you'll soon be able to tell when a restaurant isn't using it.)
A complaint I hear sometimes about dashi made from dashi granules is that it is 'fishy'. While they do have some fish flavor (and the granules themselves, especially certain brands, can smell rather fishy) since they are made from katuobushi extract and such, I suspect that one problem is that people are using far too much of it. You only need to use about 1 teaspoon per 4 cups (1 liter) of water, or 1/4 teaspoon per cup.
Dashi, whether made from granules or from scratch, is not meant to be used on its own; it is meant to be a flavor enhancer, not the entire flavor. You add other ingredients like salt, soy sauce, sake and so on to the dashi to "complete" the flavors. So trying to make add enough dashi granules to water or other liquid to make it 'strong' will not turn out well at all.
When you use dashi granules start with a small amount, add the other flavors and then add a bit more if you think it really needs it. Tasting as you go along is the best way to cook something you're unfamiliar with.
Dashi granules that come in pre-portioned packages like these are handy if you can't remember the dosage. These little sealed packages tend to keep better too.

But again, if you can get the real ingredients, please try to make dashi the proper way at least once, so you can know what it's supposed to taste like.
Filed under: basics japanese washoku japanesecooking101Japanese Cooking 101, Lesson 1-Addendum: Making Miso Soup and Clear Soup with Dashi
Now that you know how to make a proper dashi, you're 90% on your way to making delicious miso soup and clear soup. If you have ever wondered why your miso soup doesn't taste quite right, and you were omitting the dashi part...you're in for a treat!
Basic miso soup (味噌汁, misoshiru)
For this lesson I will be using one ingredient, potato, that should be familiar to anyone, and another, wakame seaweed, which may be more unusual but is a standby in Japanese kitchen. It also gives me a chance to show you how to handle miso soup additions that have different cooking times.
A bit about wakame
Wakame (わかめ) is very different from kombu, but is probably the second most used seaweed in Japanese cooking. Unlike kombu wakame doesn't have a whole lot of umami, although it has a pleasant sea-flavor. It's enjoyed more for its texture, which can be kind of chewy and squeaky when raw, or soft once you cook it even briefly.
Wakame is available in two forms: fresh (raw) and packed in salt; or dried. I usually have the dried kind around because it's more convenient (especially when you live far away from a Japanese grocery store like me) and that is what I used here:

Dried wakame expands to 4-5 times its volume when reconstituted, so use sparingly. Dried wakame usually comes already chopped up, so all you need to do is to take out some and reconstitute in cold water is using in salads or side dishes. For soup you can just put it directly into the soup.
Fresh wakame packed in salt should be stored in the refrigerator. Before using, rinse off the salt under running water, then blanch briefly by pouring boiling water over it. If using in a salad, refresh in cold water. Fresh wakame comes in long whole strands, so you need to chop it up before using. It also expands a bit (about 1.5 times or so) so don't pull out more than you need from that tangle in the packet.
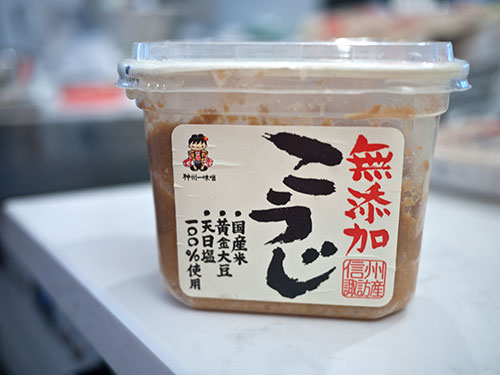
The miso I used, and how much to add to your soup
For this miso soup I used a white Shinshuu miso. Shinshuu is the old name of Nagano Prefecture, and is known for its excellent miso. It's fairly mild on the saltiness scale.
Every miso has a different level of salt, and the worst thing you want to do is to add too much miso to your soup. A general rule of thumb is to use about 1 tablespoon per cup (U.S. measure, 236.5ml) or 1/4 l (250ml) but if you have a very salty red miso for example, you may need less. So when you are trying out a new miso, always add less than you think you need. It's easy to add more. Since we'll be using 1000 ml / around 4 cups for this recipe, we'll start with 3 tablespoons and add more if we think we need it.
(See: Japanese miso primer for more about different types of miso.)
Potato and wakame miso soup (じゃがいもとわかめの味噌汁)
For 3-4 servings
- 1000ml / 4 U.S. cups dashi
- 1 medium potato, peeled and cut into small pieces
- 2-3 tablespoons of dried wakame, or 4-5 tablespoons (about 2 strands) of fresh wakame
- 3-4 tablespoons of miso
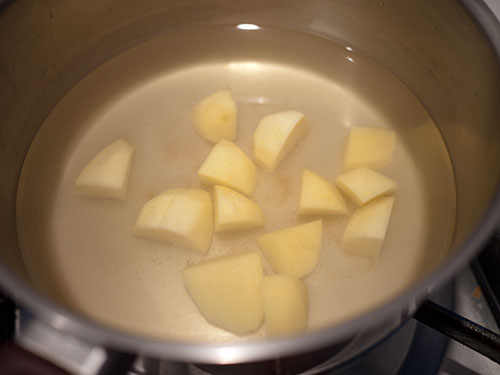
- Bring the dashi up to a boil, and add the potato. Lower to a simmer, and cook until the potatoes are soft, around 10 minutes depending on how big the pieces are.
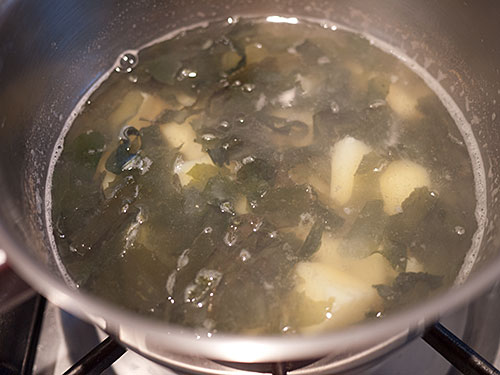
- In the meantime, if you're using fresh wakame, process it as detailed above. Dried wakame can just be thrown in there without reconstituting. When the potato pieces are tender, add the wakame.
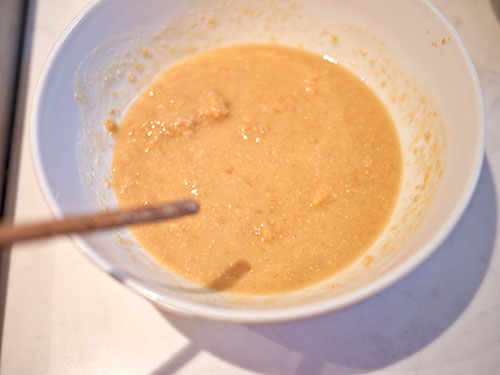
- Put the miso paste in a bowl and add some of the liquid from the soup.
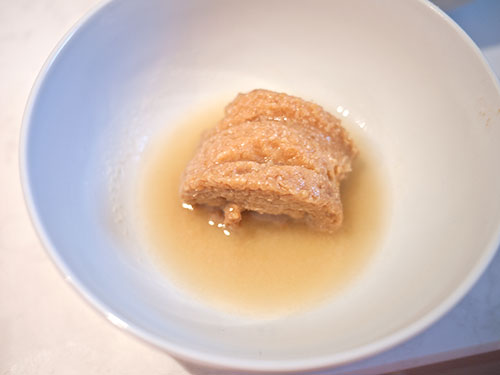
- Mix it around in the liquid until it's dissolved. Never add miso paste directly to soup: always dissolve it first. Otherwise you run the risk of salty clumps or miso in the soup, or of overcooking it. (Incidentally, I always do this dissolving part in the bowl of the ladle I'm using, as do most Japanese home cooks. Once you get more used to making miso soup you can try that too. Less washing up to do!)
Add the dissolved miso to the soup, then immediately turn off the heat. Miso should not be boiled, or it starts to turn a bit grainy. (Mind you it will still taste fine, so if this happens to you don't throw away your soup or anything). Taste your soup, and if needed add a bit more dissolved miso.
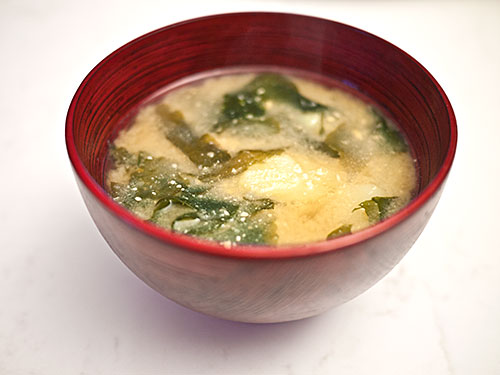
Serve in a bowl. The combination of potato with soft wakame is really homey and delicious. Take your time to inhale the aroma of the soup. If you serve this to a homesick Japanese person they may cry in gratitude.
Tip: If you can't get wakame, you can use some shredded spinach (as I used in the clear soup below) instead.
Miso soup summary
- Cook any hard ingredients until tender in the dashi.
- Add no-cook or almost-no-cook ingredients at the end.
- Always dissolve the miso before adding to the soup, using some of the dashi in the pot.
- Add less miso than you think it needs, then add as needed. 1 tablespoon = 1 U.S. cup or around 250ml of dashi is a fairly good baseline, but all misos are different.
- Never let miso soup boil after adding the miso.
Variation: Clear soup (お吸い物 - osuimono or おすまし - osumashi)
Delicate clear soup or osuimono may seem even easier to make than miso soup on the surface, but getting the flavor balance just right can be a bit tricky. A clear soup really must have a great tasting dashi as a base. Many cooks prefer to use a kombu dashi which is more subtle and refined according to some, but the standard kombu + katsuobushi dashi is fine too.
Here I have used two ingredients that should be easy to get anywhere.
Chicken supreme (tenders) and spinach clear soup (鶏ささみとほうれん草のお吸い物 - tori sasami to hourensou no osuimono)
For 3-4 servings
- 1000ml / 4 U.S. cups dashi
- 1 teaspoon soy sauce (light soy sauce preferred, but dark is ok)
- 2 teaspoons sake
- 1 teaspoon mirin
- Salt to taste
- 1 chicken tender or supreme (the long, thin, tender part that's on the underside of a chicken breast), cut into small slivers
- 3-4 spinach leaves, stalks removed and shredded
I didn't include any step by step photos here since you'll just see a pan of clear liquid mostly! But here are the steps.
- Bring the dashi to a boil, then lower the heat to a simmer.
- Add the soy sauce, sake and mirin. (Note for people who can't use these ingredients - just leave them out; the soup will still taste pretty good.)
- Add the chicken, then add the spinach. Both will cook almost immediately.
- Taste the soup. Add a pinch of salt if you think it needs it, then taste again, until it has the right amount of saltiness.
- Serve in a bowl.
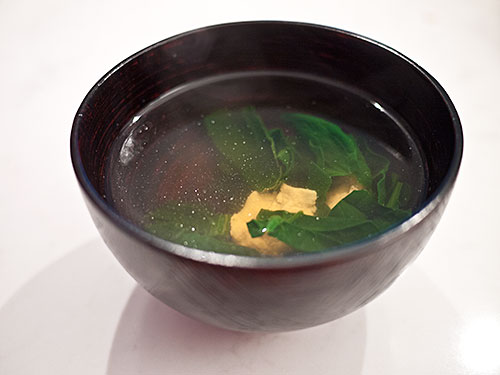
So there you have it! You know how to make great miso soup and clear soup!
If you would like to do so, please link to a picture of your results in the commencts right here, via Twitter to @justbento or @makiwi, or on the Facebook page.
Filed under: soup miso washoku japanesecooking101